


Getting the Most out of Your Seam Ripper

Getting the Most out of your Seam Ripper
Removing stitches is a task that many people think they can get away with, but spoiler alert - it is almost inevitable. There are a number of reasons why you may need to do this, for example, you've made a mistake, or you've simply changed your mind about the colour of thread or or which stitches you've used. Regardless of the reason, when it comes to removing stitches, a seam ripper is your best friend.
Click here for our latest range of high quality seam rippers.
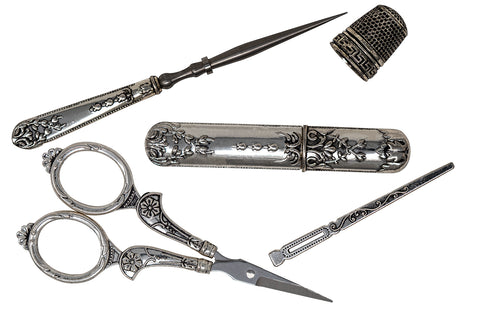
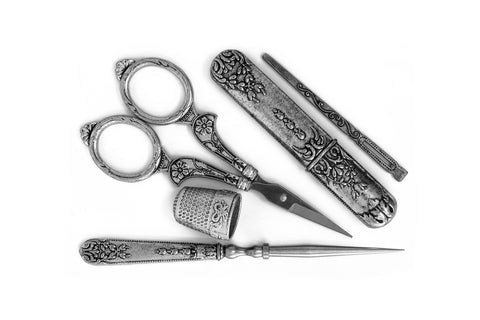
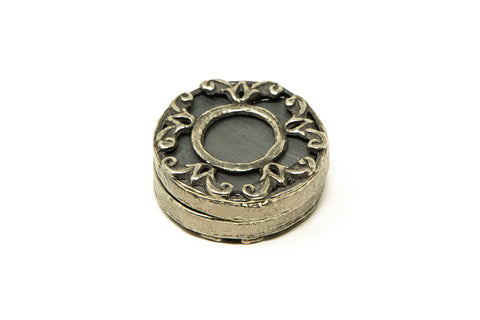
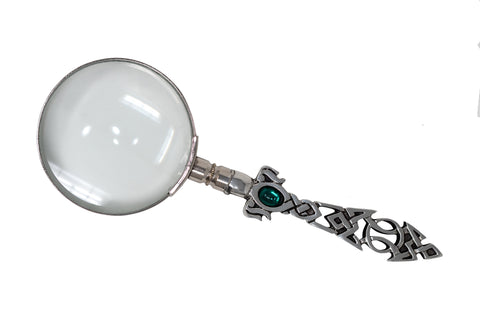
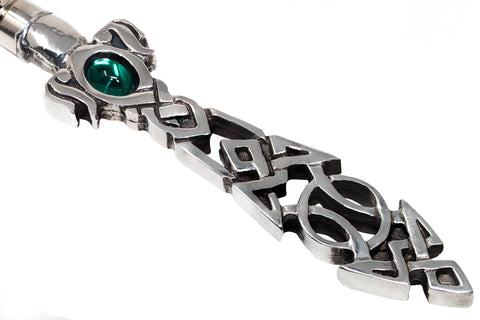
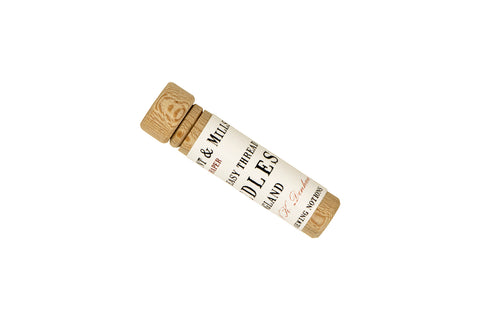
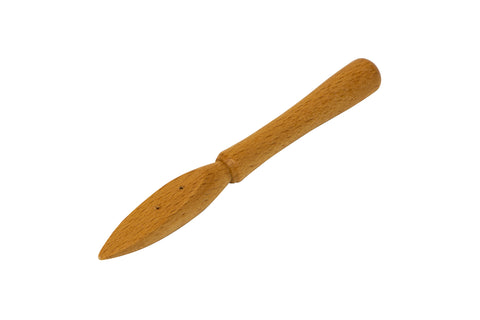
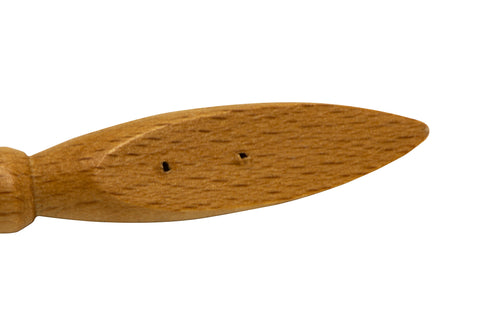
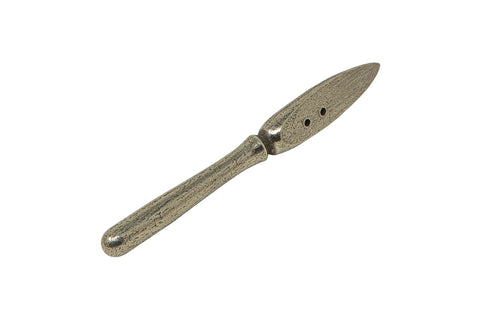
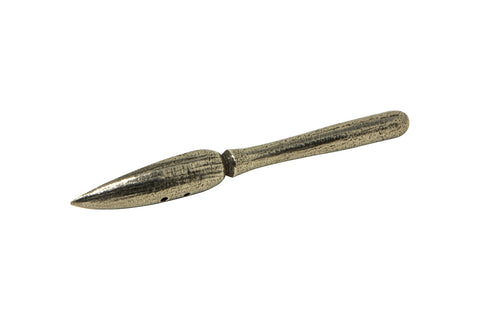
Seam rippers can come in many shapes and sizes - the most common form consists of a handle, a shaft and a head. The head itself is usually of a "u"shape with one end being pointed and the other end covered in a small sphere. This is for protection, as the inside of the "U" is quite sharp, and is where the cutting takes place. Some seam rippers may also come with a protective cap to protect the sharp tip when not in use. The image below is a perfect example of this, taken from an elegant Victorian inspired seam ripper.

The first step is to identify which stitch you want removed. Then, starting on one side, insert the sharp end between the thread and fabric until the thread is pressing against the sharp bottom of the "u". For ease of use, it's recommended to keep the flat end pressed against the fabric whilst doing this.
Once the desired stitch is resting against the seam ripper's blade, gently push forward and up, away from the fabric. Do not use brute force as this can damage the fabric and may even render it unusable. If the thread is stubborn, which can be the case with higher quality threads, then rub the sharp end of the seam ripper against the thread. This might be more time consuming, but it's the safest option for your fabric.
Once the desired stitch is removed, you can move on to the next one. If you need to remove a particularly long seam of stitching then consider cutting every third stitch as this speeds up the process.
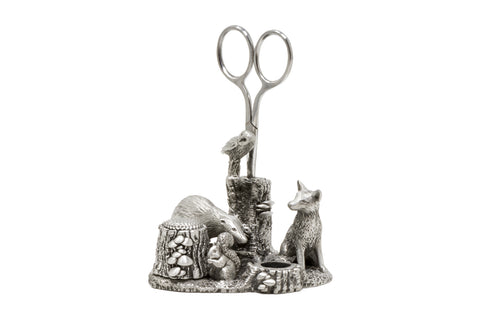
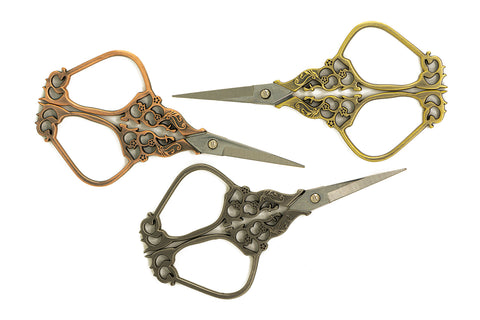
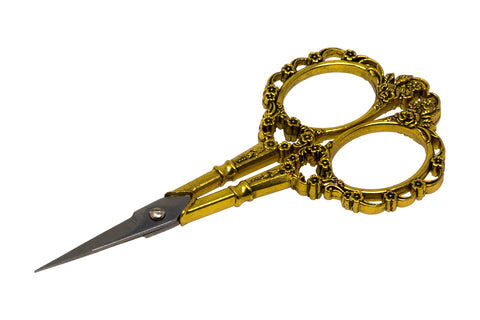
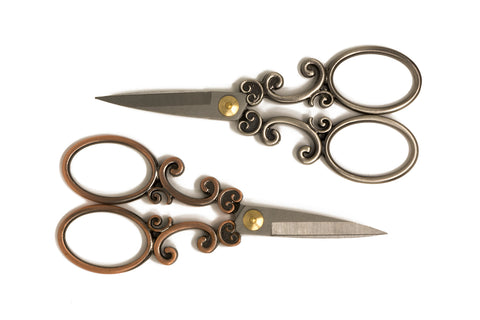
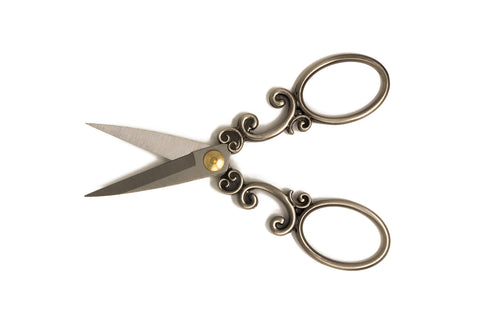
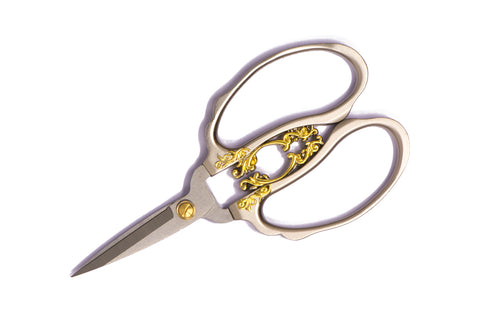
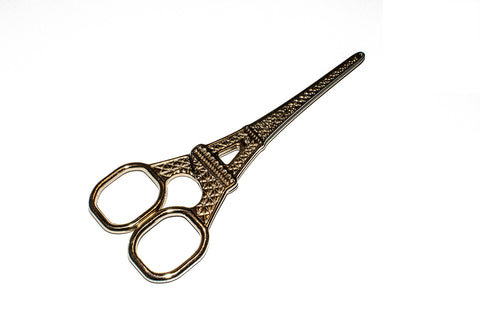
After removing all the desired stitches from one side of the fabric, turn it over. The thread should be hanging loose in the area you've just unpicked, and if it isn't, give it a gentle rub to bring the thread to the surface, or use the seam ripper to pluck it out. You can then cut the thread at the beginning and the end, and voila, you're ready to resew. If you haven't already, check out our range of elegant needlework scissors.